At WiseGEEK, we're committed to delivering accurate, trustworthy information. Our expert-authored content is rigorously fact-checked and sourced from credible authorities. Discover how we uphold the highest standards in providing you with reliable knowledge.
What Are the Best Tips for Making a DIY Room Divider?
Often, individuals find they need to break up a big space within their home. A do-it-yourself or DIY room divider is a great option for many because of its relatively easy customization, function, and cost. Careful consideration of the type of divider desired, budget, and design scheme are a few of the best tips for creating one. Quality might be another aspect examined.
When choosing the type of divider to use, individuals can often break this decision down into what is necessary and what is desirable. The specific function of an area is one significant factor. Space restrictions are usually a key consideration as well. Other factors to think about include the design of the space and the divider and whether a screened, paneled, or hanging DIY room divider is the best choice.

While many types of separators are possible, they are usually broken down into screened, paneled, or hanging categories. These designs might make use of wood, rice paper, or fabric. Each element generally contributes to the décor of the room as well. Many people choose to use ones that are switched out from time to time to enhance the area.
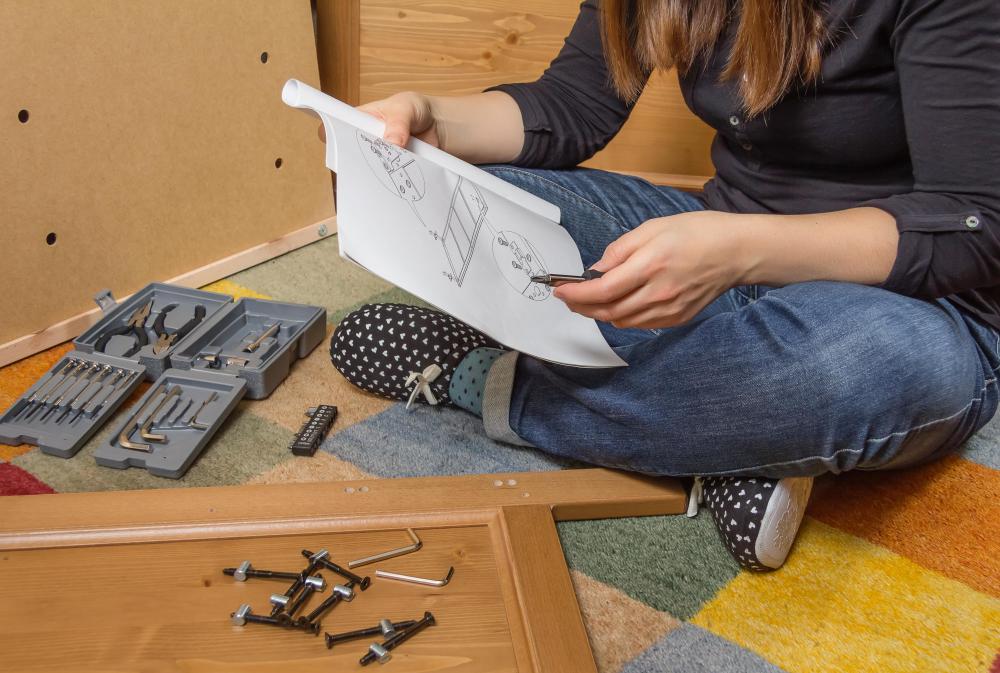
Budget generally affects the type of DIY room divider individuals make. Costs can vary from a small amount for a few hardware pieces to a larger amount based on fabric and other materials. A variety of resources exist to help individuals determine whether they would like a unique look, something modern and trendy, or something made using recycled materials.
Overall design of the space is often a factor individuals consider when choosing to make a DIY room divider. Many people want it to match the existing décor or what they will be using in the area. Consulting magazines, books, and the Internet might assist individuals in identifying a DIY room divider that works well in the space. If it can be moved easily several designs can potentially be used as they can be switched out as needed.
Quality is a factor individuals might also consider when choosing materials to create the divider for a room. For structures that are intended to be permanent, it's important to choose the sturdiest material for best results. When it is only to be used for a few years and then discarded, other fun design items might be used such as records or beads, even though these items might not be as tough as other materials.
AS FEATURED ON:
AS FEATURED ON:

-
![Budget generally affects the type of DIY room divider individuals make.]() By: doble.dBudget generally affects the type of DIY room divider individuals make.
By: doble.dBudget generally affects the type of DIY room divider individuals make.
Discussion Comments
My young son has always been very creative. He came up with a unique divider to separate his section of the bedroom from his brother's, and I never even knew he was doing it until I saw it hanging there.
I did wonder why he had been collecting plastic soda bottles and food wrappers. He would only tell me it was for a special project.
He stuffed food wrappers into the soda bottles to make them opaque. Then, he strung them together by cutting a hole in the bottom of each one and leaving the lids off. He used kite string to link them together vertically.
He hung them from the ceiling by those hooks that you screw in and hang plant containers from. He had a row of them going across the whole room!
If you're going to make a permanent room divider, you may want to consider sound-proofing. The whole point of dividing a space is basically to create another room, and what's the point if you can hear everything in the next room?
One solution to this problem would be to have a room divider with a layer of foam or some other type of insulation in the middle of it. That way it would be almost like a real wall!
@Perdido – I did something similar to section off the nursery from the rest of my master bedroom. I wanted to keep my baby near me at night, but I also wanted to separate her area, filled with baby toys and a crib, from the cohesive décor of my bedroom.
My comforter is crushed velvet, and I thought it would be nice to hang some velvet material up as a divider. I found a long rod like you would use to make a closet rack from a home improvement store, and I bought this, along with a large piece of velvet material and some shower curtain hooks.
I used a hole punch to make holes for the hooks to go through. I attached the rod to one wall and put it through the hooks. Then, I attached it to the opposite wall and hung the velvet by the hooks.
@SZapper - You're right, most apartment management companies will do anything to prevent you from getting your security deposit back, so you should be careful with room dividers. Obviously if you own your home, that's not going to be a consideration!
Anyway, I feel like if you're going to make your own room divider, you shouldn't have to spend too much money. So, I think the best way to get the parts for a room divider is from the sale section of a furniture store or from classified advertisements. If you have to pay a lot of money, you may as well just get a pre-made room divider, in my opinion!
My husband and I moved into a rental home after we got married. A wall had been torn down between what was once a small bedroom and the living room. This entire area was now open to the dining room and kitchen.
I hated having such an open plan. I like to listen to the radio and relax while cooking in the kitchen, but my husband always has the television in the living room on, so it clashes. I wanted some type of divider between the rooms.
A long section of the ceiling along the dividing line had about six inches of wall below it, and then it was open. I took advantage of this by putting a few screws into the bottom of the short wall.
Then, I bought some thick, dark fabric that matched the wallpaper. I made loops on one end by sewing on pieces of elastic. I then attached them to the screws, and I had an instant room divider.
I think that if you're renting an apartment, you should think hard before making a DIY room divider. You have to make sure you'll be able to take it down easily and it doesn't do any damage to the apartment. You'll probably want that security deposit back, after all!
I think a hanging curtain is probably the best idea for an apartment. You can get a curtain rod to put up (provided the area isn't too wide) and then just hang a curtain. Instant room divider!
Or, if the room is too wide, I think building a free-standing divider is the next best idea.
The very first house I bought was very small, and I didn't have a lot of money. I needed an easy and inexpensive way to section off my kitchen area from the rest of the house.
I ended up using fabric vertical blinds hung from the ceiling. The fabric matched the colors in my house and it was the perfect solution for me.
It also gave me the advantage of keeping the area opened up if I didn't want the divider there all the time.
You could also get the same effect with curtains, and this would probably be even a little bit cheaper. I just liked the convenience of the retractable blinds.
I grew up in a family of four sisters, and we all had to share a bathroom. Luckily, it was a large bathroom, but we really needed portions of it divided up for privacy. We all had to get ready for school at the same time, so using it in shifts wasn't an option.
My mother found a couple of beautiful folding panels at an antique store. They were black with gold and green designs on them, so they matched our bathroom. She bought them for us.
We sectioned off an area of the bathroom with a panel and designated it as the dressing room. It was so nice to have this privacy.
We put another panel around the toilet. I think we needed it there most of all!
I got this idea from watching a home show, but it was very inexpensive and easy to do.
I hung wooden frames from the ceiling and put potted plants inside the frames. You just have to make sure the frames are sturdy enough to hold the number of plants you want to have.
Many of the pots were planted with plants that had long vines. The longer the vines grow, the more privacy you have from one room to the next.
I also included a few small, colorful plants to add a touch of color in the middle of the 'wall'.
This idea helped me accomplish the purpose of needing a room divider and combined my love of house plants. I keep a lot of compliments on this from first time visitors to my house.
My husband is great when it comes to woodworking projects. I wanted a large wooden photo divider to section off a room in my house.
I had seen several screen type photo dividers in the store, and knew he would be able to make something like that.
We looked online until we found a style that we both would like and he would be able to figure out how to build. He didn't follow a specific pattern, but designed it himself.
I love to be able to change the look of the divider by rotating pictures of the kids and fun places that we have visited during the year.
Post your comments