At WiseGEEK, we're committed to delivering accurate, trustworthy information. Our expert-authored content is rigorously fact-checked and sourced from credible authorities. Discover how we uphold the highest standards in providing you with reliable knowledge.
What Are the Best Tips for Doing an Electronics Mini Project?
An electronics mini project is a way to build one of the many types of miniature electronic devices or components that can be made at home or in a workshop. The keys to successfully completing an electronics mini project are organization, familiarization, preparation, orientation and proper soldering techniques. A final visual inspection will ensure that your electronics mini project has been completed properly.
Organization is key before you begin. Your work area should be clean, uncluttered and well lit, and your tools and supplies should be within easy reach. If your project involves static-sensitive devices, use proper anti-static techniques to prevent damaging them. The simplest method for preventing static damage is to use an anti-static wrist strap before handling sensitive components. Anti-static wrist straps can be found at most electronics supply outlets.

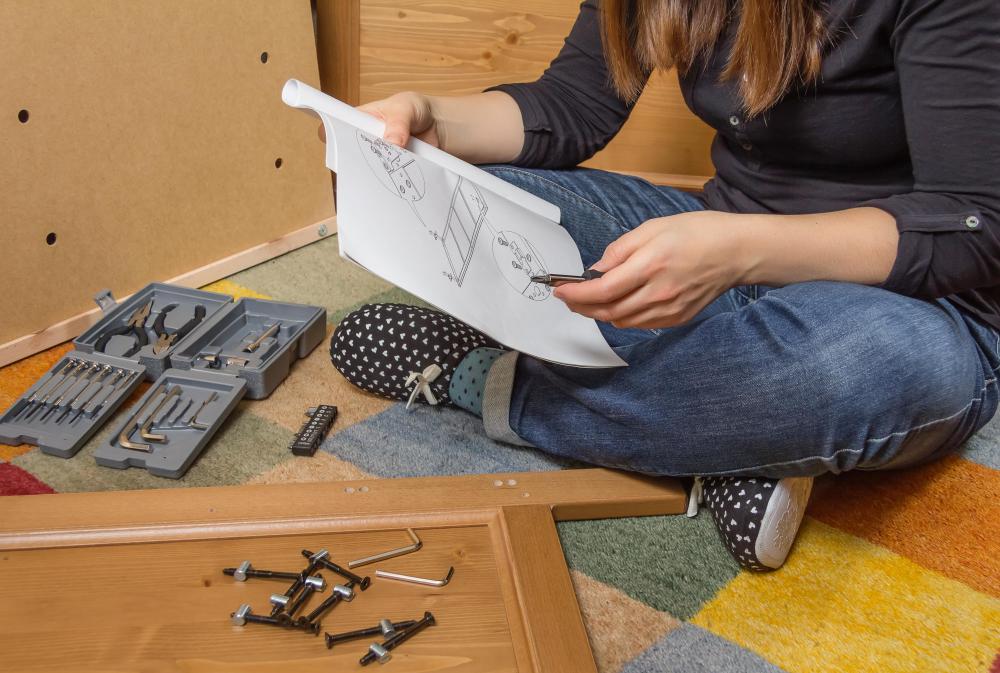
If your electronics project came as a kit, ensure that all the parts on the enclosed list are there. Read any instructions carefully before beginning the assembly process. Familiarize yourself with the parts and components. Most electronic components have a specific orientation. Make sure you understand the markings and codes on the parts, because installing a component incorrectly can have catastrophic consequences.

The single most important step in any electronics mini project is board preparation. If your project includes a printed circuit board, it needs to be properly prepared before you mount and solder the components in place. Excess heat can cause the solder pads to lift off of the board.
A clean board will allow you to solder the parts in place more quickly, reducing the possibility of heat damage to the board or the component. Fine steel wool can be used to clean the board. Oxidation and oil from your hands can inhibit the free flow of solder, turning a fun project into a nightmare.
When placing parts on the circuit board, pay careful attention to their polarities and terminal assignments. Electrolytic capacitors, diodes and rectifiers have markings showing their polarity. Integrated circuits have a dot impressed in the plastic near pin number 1 or a half-moon marking on the pin 1 end.
Transistor terminals are not usually marked. A pin diagram usually comes with the part or is included in the kit’s documentation. Free information on electronic components usually can be found on the Internet by doing a search for the part number.
Proper soldering techniques are critical when constructing any electronics project. Choose a soldering iron and solder designed for electronics work. Keep the tip of the iron clean and tinned with a coating of fresh solder. The parts should be firmly attached to the board before soldering.
To prevent cold solder joints, apply heat to the solder pad and the component lead at the same time. After a short pre-heat, apply the solder to the joint. The solder should melt and flow smoothly.
Apply solder sparingly prevent solder bridges. A solder bridge occurs when an accidental connection is made between two points during soldering. If overlooked, a solder bridge can cause serious component damage when power is applied. It also is difficult to find when troubleshooting a circuit.
Components and wires must not move while the solder is setting. If they do, a bad connection or cold joint could result. Properly soldered joints are shiny. Any dull gray joints should be reheated and allowed to set again.
Before applying power to your electronics mini project for the first time, you should carefully inspect your work. Verify that all the parts are installed and installed correctly. Examine all solder joints to ensure that you didn’t miss any and that there are no cold joints or solder bridges.
AS FEATURED ON:
AS FEATURED ON:

-
![It is important to read instructions before attempting to complete an electronics mini project.]() By: doble.dIt is important to read instructions before attempting to complete an electronics mini project.
By: doble.dIt is important to read instructions before attempting to complete an electronics mini project. -
![Soldering irons can be used to fuse wires and electronic components together on circuit boards.]() By: luchschen_shutterSoldering irons can be used to fuse wires and electronic components together on circuit boards.
By: luchschen_shutterSoldering irons can be used to fuse wires and electronic components together on circuit boards.

Discuss this Article
Post your comments