At EasyTechJunkie, we're committed to delivering accurate, trustworthy information. Our expert-authored content is rigorously fact-checked and sourced from credible authorities. Discover how we uphold the highest standards in providing you with reliable knowledge.
How can I Convert Tapes to CD?
Before you donate that cassette player to the local charitable organization or send it to an electronics recycler, you might want to convert your library of tapes to CD for posterity. It won’t be fast, but it can certainly be worth your time. All you need is a cheap cable and some simple, free recording software.
The plan is to get the music from the cassette onto the computer’s hard disk. From there, the files can be burned to CD. The tunes will be sent to the computer using the cassette deck’s line-out or audio-out ports, or the headphone jack. If using audio-out ports, you’ll likely need a cable with red and white RCA jacks on one end, and the other end will have to match the line-in port you’ll be using on your computer’s soundcard. Typically, this is a 1/8-inch (3.5 mm) mini-stereo jack. This type of cable is available at any electronics store.

If you’ll be going from the headphone jack to the soundcard, you’ll either need a standard 1/4-inch (6.35 mm) stereo jack on one end and a mini-stereo jack on the other or, if the deck is built into a portable boom box, it might also have a mini-headphone jack. Adapters are also available to convert a cable you might already have.
When converting your tapes to CD, be sure the cable is long enough to set up the cassette deck where it will be stable and out of the way, as it might spend some time in this location. Though it might be okay to set it right next to the computer, it’s probably better to set it a few feet (a meter or so) away to avoid potential interference expressed as signal noise.

Many free recording programs are available to capture the incoming audio signals, which you can then save in the audio format of your choice. Wave (.wav) files are great for burning to CD, but if you want to save room, you can save to a compressed format like .mp3 as long as you’re willing to sacrifice some quality.
With cable in hand, turn on the cassette player and adjust the volume so that it’s audible without being loud, then attach the cable to the cassette deck and sound card. Let the tape continue to play while you setup the software — you’ll restart the tape in a minute. Be sure the “line-in” option is enabled in the software, and you might have to access your sound card settings to enable line-in on the card, too.

Once line-in is enabled on both the sound card and software, you should see the signal registering in the software on meters that represent the left and right channels. You should also hear the signal coming out of the computer speakers. Adjust the software gain (or cassette deck volume if necessary) until the signal looks good for recording. If the meters are registering the volume too low, the recording will be too soft, but if the meters are registering the signal by peaking into the red zone, the recording will be distorted.

Once adjusted, click record and let the software capture about 30-45 seconds of whatever portion of the tape is playing. Click stop, and pause the tape in the cassette. Play back the recorded section listening to the sample with headphones. If you make adjustments to the volume or gain, record another snippet to test the new settings.
Rewind the tape and start recording from the beginning. Some software programs will allow you to edit the recording when its finished, deleting long entry silences or applying E.Q. filters to improve the overall sound.

The entire cassette can be recorded as one large file, saved, and burned with any CD or DVD burning software to disc. Another option is to record each track from the cassette separately, pausing the tape between tracks to save the current song as its own file before recording the next song. This is more trouble, but rips each song, making future options more flexible for using the tune in different compilations or on portable players. You can also record the cassette as one large file then use editing tools to chop it into separate songs. Wear headphones for this process to avoid clipping fade-outs.

The wave format consumes about 10 Megabytes of space for every minute of audio, while MP3 consumes up to ten times less. Depending on how much free space you have, you might need to convert some tapes to CD, delete the files, then record more. Whatever strategy you use, you'll likely find that it was more than worth the effort to commit your old music to a format that allows you to listen to your favorites once again.
AS FEATURED ON:
AS FEATURED ON:

-
![A standard audio cassette.]() By: Radoslaw MaciejewskiA standard audio cassette.
By: Radoslaw MaciejewskiA standard audio cassette. -
![A boombox or cassette player will be needed to convert tapes to cd.]() By: SofokleA boombox or cassette player will be needed to convert tapes to cd.
By: SofokleA boombox or cassette player will be needed to convert tapes to cd. -
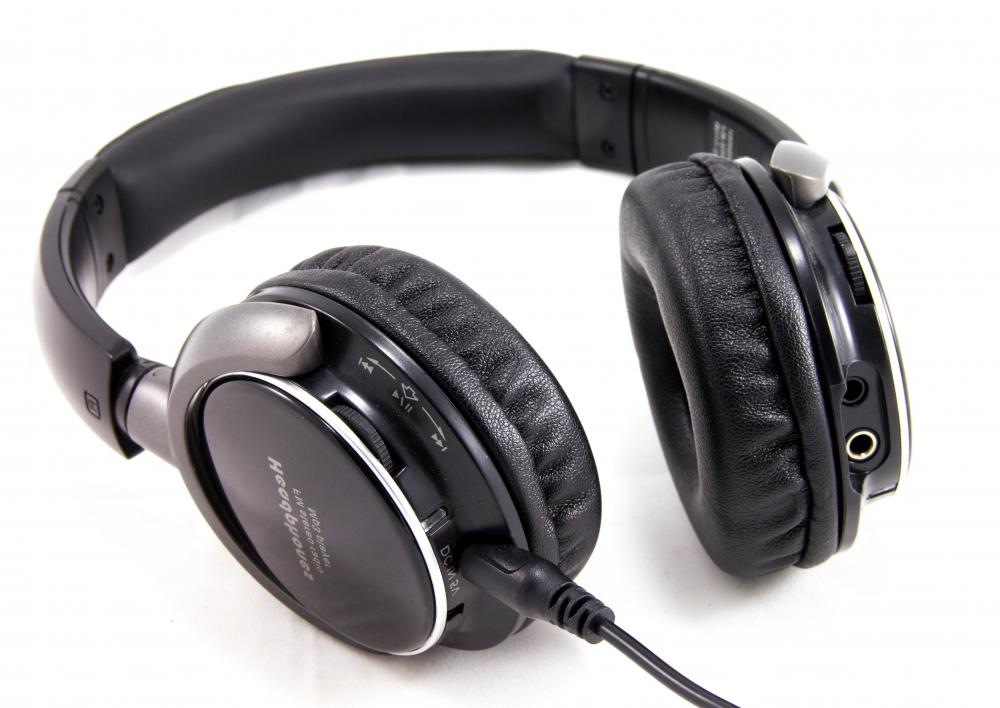
![While converting tapes to cd, it may be a wise idea to wear headphones to adequately determine the quality of the sample.]() By: goodappWhile converting tapes to cd, it may be a wise idea to wear headphones to adequately determine the quality of the sample.
By: goodappWhile converting tapes to cd, it may be a wise idea to wear headphones to adequately determine the quality of the sample. -
![Red and white audio cables will be required in the process of converting tapes to cd.]() By: marzolinoRed and white audio cables will be required in the process of converting tapes to cd.
By: marzolinoRed and white audio cables will be required in the process of converting tapes to cd. -
![Cases may be useful to protect CDs.]() By: von LieresCases may be useful to protect CDs.
By: von LieresCases may be useful to protect CDs. -
![A number of methods are available to get music from tapes onto a computer, for transfer to a compact disc.]() By: Mariusz BlachA number of methods are available to get music from tapes onto a computer, for transfer to a compact disc.
By: Mariusz BlachA number of methods are available to get music from tapes onto a computer, for transfer to a compact disc. -
![With a cassette player, a computer and some specialized cables and software, cassettes can be preserved digitally.]() By: Stepan BormotovWith a cassette player, a computer and some specialized cables and software, cassettes can be preserved digitally.
By: Stepan BormotovWith a cassette player, a computer and some specialized cables and software, cassettes can be preserved digitally.


Discussion Comments
Some of my tapes seem to have gotten pretty damaged over the years and a lot of the sound quality has been degraded. Is there any way to restore them?
Is it worth it to take the time to convert all the tapes to CDs, or should I just download the files from a site on the internet?
I thought for a long time about converting some of my old tapes to CD, but I ended up waiting so long that now CDs are not really a relevant format. I don't need CDs, I need to get digital files of the songs on these tapes. Does anyone have any idea how to do this?
Every year around Christmas time I see machines in the stores where you can transfer tapes and records to CD. I still have a collection of old tapes and albums that I wouldn't mind having on CD. Some of these are hard to find and I don't think I would ever be able to find them already made into a CD.
Using something like this would probably be more expensive than how this article describes it can be done. It also sounds like it might be a little bit easier. Once you start talking about cables and downloading software I am lost.
I miss listening to some of the old songs I grew up with and would really enjoy being able to listen to them on CD. I have a lot of music on CD but there are times when I miss using a cassette player. I know some probably think I am crazy, but I found it easier to rewind a tape to a certain spot I was looking for than it is to find it on a CD.
I tried transferring some cassette tapes to CD but was unhappy with the quality. I realize they didn't have the technology back then that we are used to now and found that the poor quality really bothered me.
For many of the tapes that I wanted to save I was able to find them on CD and just went that route. I found the quality to be a little better than when I did it myself, and it was sure a lot less time consuming.
@mitchell14 -- Times certainly have changed. When I was a teenager I remember taking my cassette player and recording my favorite songs from the radio so I could listen to them over and over again. It has been many years since I have had a cassette tape in the house. I don't even remember what I did with them. I think I got rid of them once everything started coming out on CD.
I remember when I was little and you weren't even able to save your own files on cds. The world has certainly changed.
Perhaps one of the most important things about this is that in the process you can save files to your computer. These days most people do not even use cd players very often, but instead listen to music straight from computers.
Post your comments